Over the past two weeks, we have focused on dinking. Dinking is so important that I have considered writing an entire book on the topic. Today I share my top 3 dinking drills.
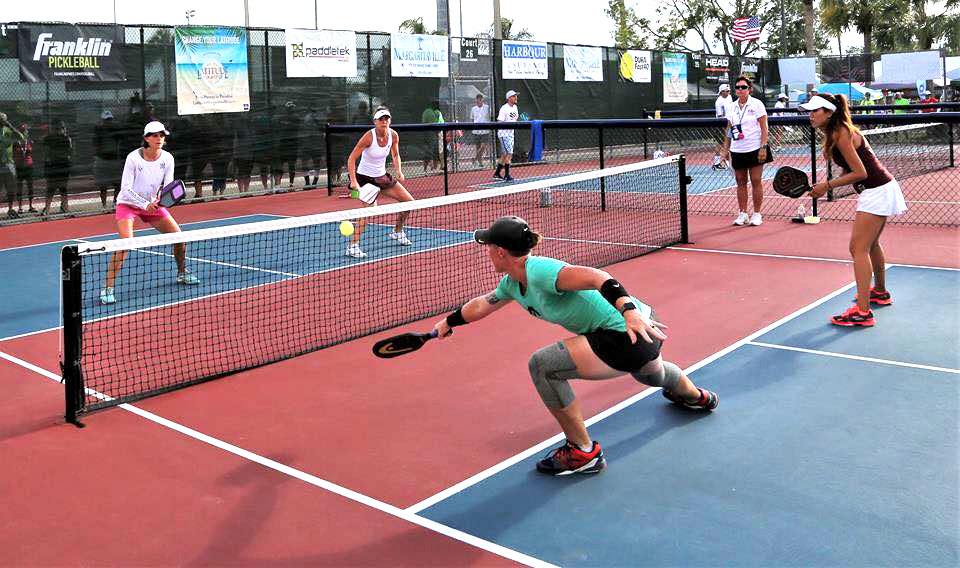
We started our dinking exploration by thinking about why we dink. Then last week I shared three tips for dinking more successfully. Today I will provide three dinking drills that will help you maintain position, use your forehand and create patterns.
Maintain position Drill
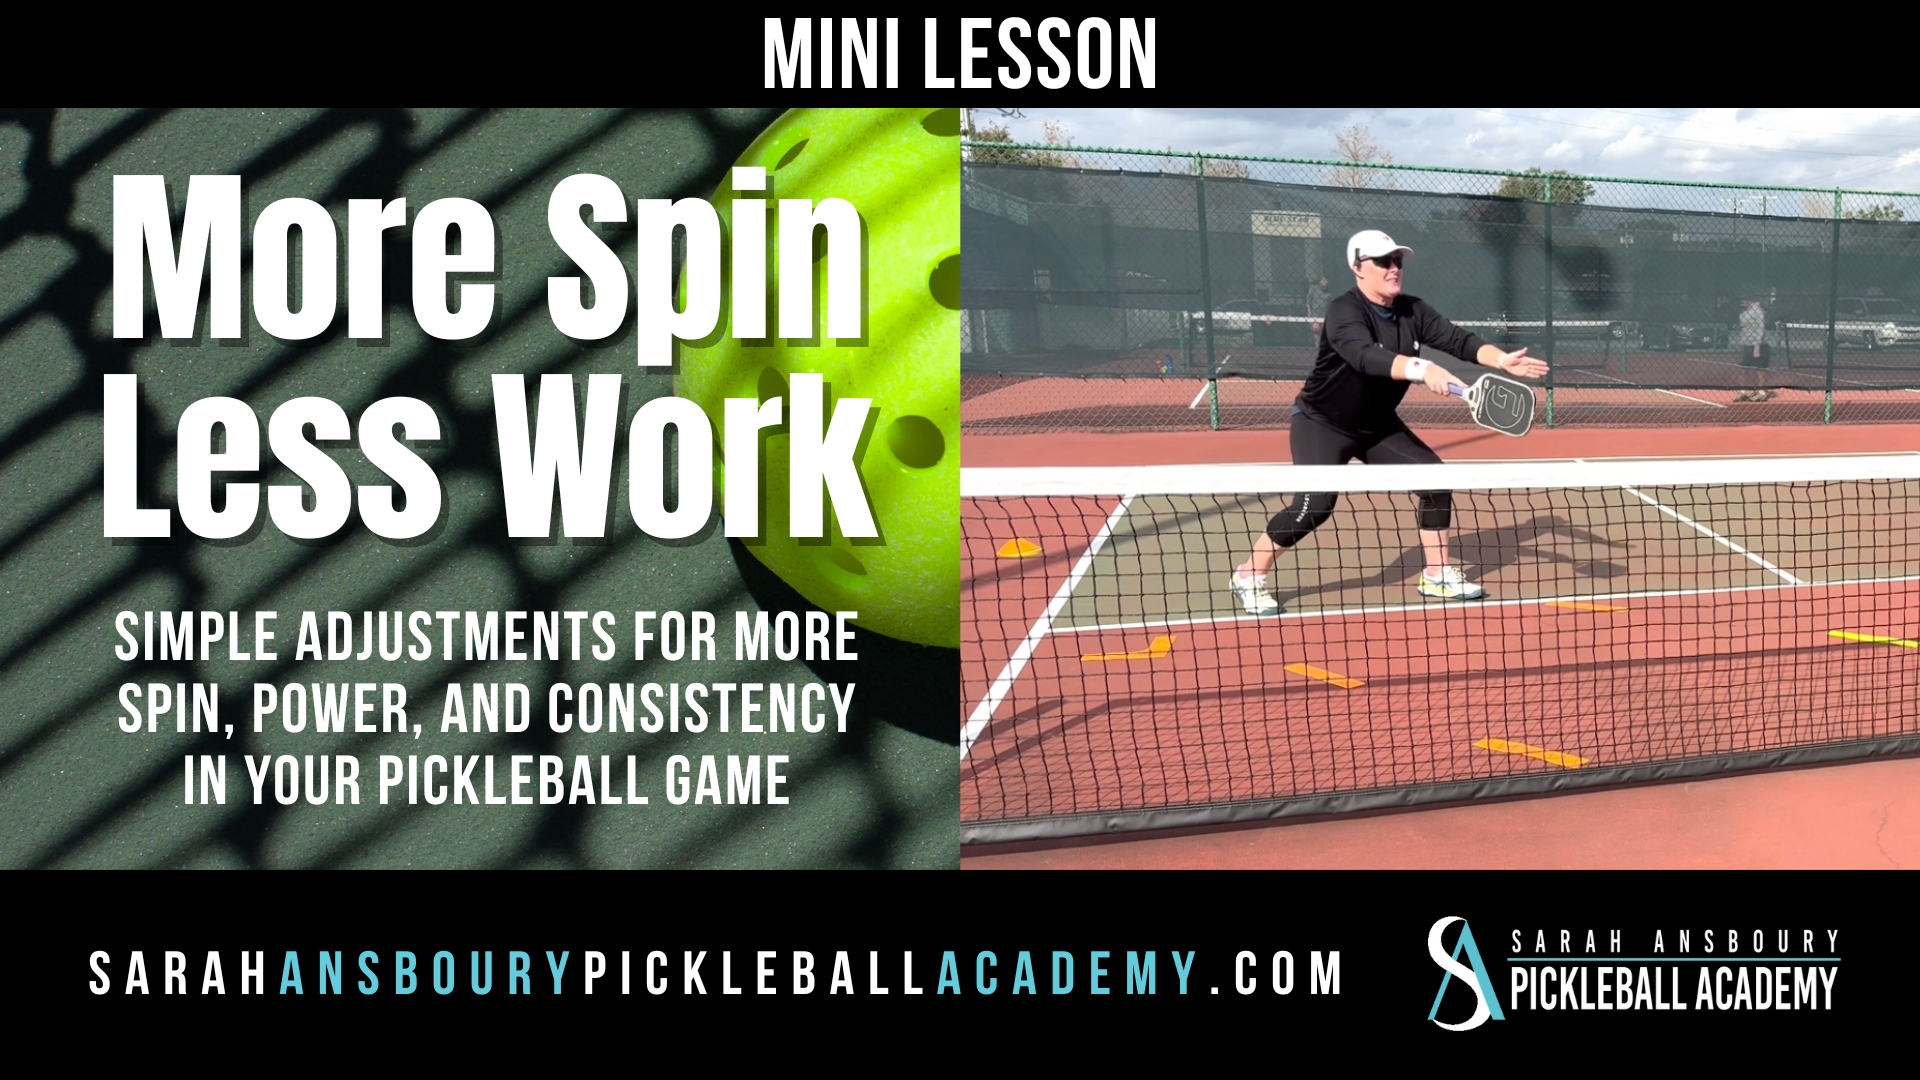
For this pickleball drill, you will need either practice cones or schoolyard chalk. I want you to create a line or barrier about  18″ behind the non-volley zone line. I prefer cones, like those you see here because you can easily tell when you step on one but they collapse so there is no risk of falling. As we discussed in last week’s post, many players step back from the NVZ line to allow the ball to bounce rather than take the ball in the air. Your goal is to always hit the ball in front of you without giving up your position at the line.
To do this, it is important to keep your paddle well in front of your sternum. Your elbows should be comfortable in front of your body.
Note, above I stated that you should begin with the “barriers” 18″ from the NVZ line…I want to be clear, not 18″ behind your heel when standing at the NVZ. You may find it difficult to maintain your position at first. However, with practice, you will improve. Challenge yourself, as I do, moving the cones closer and closer to the NVZ line as you improve.
Drill To Promote Using your forehand
When I am teaching new players to dink, I begin without a paddle. Instead, I ask them to toss the ball over the net. If you learned to throw a ball properly, you know that you need to move more than your hand or arm. In fact, your body rotates throw the shot and your weight moves toward your target. Even though a dink is traveling a relatively short distance, I want the student to learn the exact same motion. Once they have learned how to properly toss the ball, we can move on to the paddle asking them to make exactly the same movement when dinking the ball from the NVZ line.
If you are reading a post on my top 3 dinking drills, I assume you already know how to dink. And while you may feel comfortable using your forehand and backhand, I want to encourage you to use your forehand more often. To do this we create a game dinking from different locations at the NVZ line.
- Each time you cause your opponent to use their backhand, you get a point.
- Each time you use your backhand to return a shot you subtract a point.
- The player with the most points wins!
Drill to Create Patterns
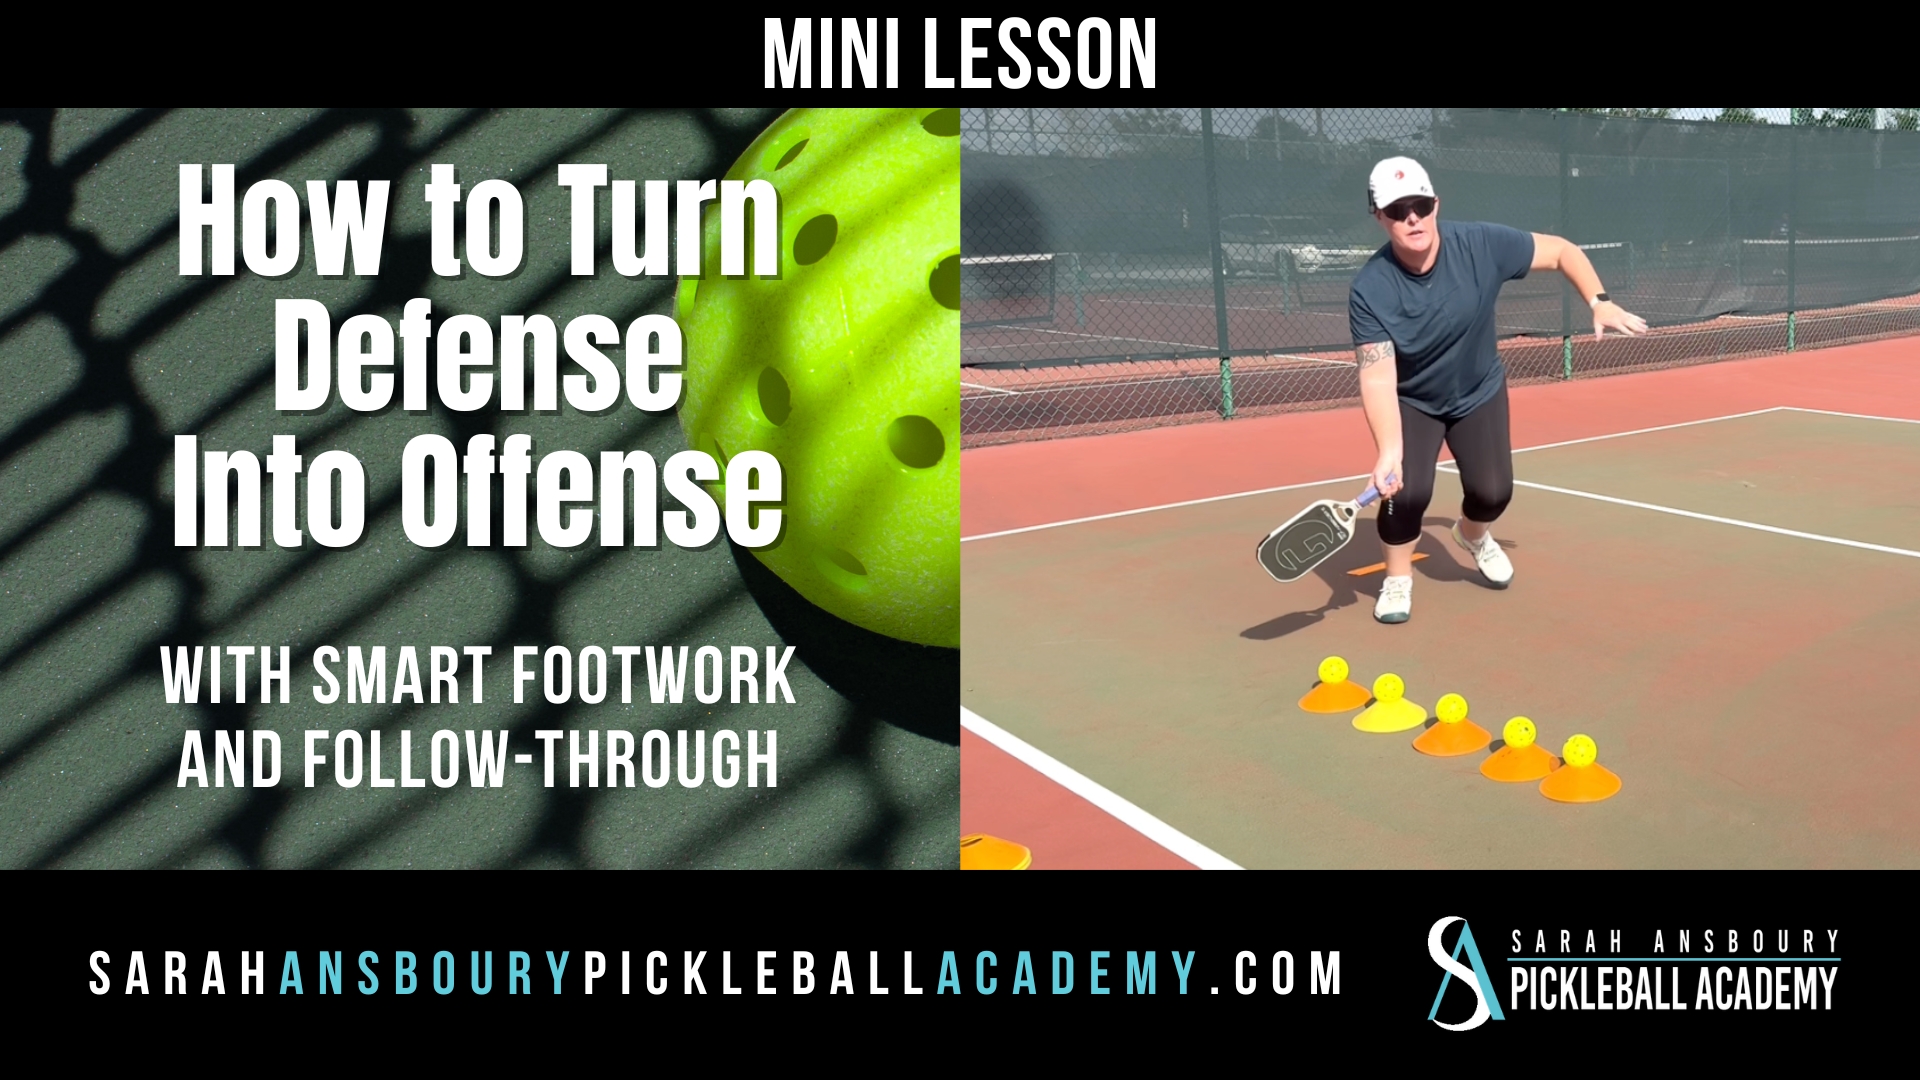
 The third dinking drill I will share with you today helps you learn to create patterns. You know that I like you to practice using targets. You can buy small rubber targets on Amazon or through a tennis supply site. Start by placing a target about half way from the net (i.e. 3.5′ the net and the NVZ line), then place another just inside the NVZ line. Your goal is to create a pattern by changing the depth of each dink…alternating from midway to the line.
You can also place the targets in positions that cause your practice partner to move side to side and up and back. Allow your partner to call the pattern. Perhaps purple, orange, green. Your goal is to create the pattern they call as you dink.
Drill with a purpose
Many of us spend a great deal of time drilling…but drilling is ineffective if you don’t have a purpose. So if you want to improve your dinking, set a goal for each practice session. Then use these dinking drills and let me know how you progress.

