Elevate Your Dinking Skills with These Fundamental Techniques
Today, we’re diving into the fundamentals of progression in pickleball, starting with the dink. I often get asked, “How do you teach a dink?” Well, it’s all about developing a progression of movement, ensuring we’re coordinating our paddle and footwork simultaneously. Let’s break it down.
Stage 1: The Basics of Motion
- Hand-Eye Coordination: Start with just the motion of catching and tossing the ball. This stage is crucial as it builds the foundational hand-eye coordination necessary for effective dinking.
- Stance and Movement: Stand with your feet slightly wider than your shoulders. Keep your body loose and ready to turn your hips. Have your partner toss you the ball, and practice catching it with both hands.
- Two-Handed Toss: Separate your hands and toss the ball back to your partner, ensuring your shoulders are engaged. This isn’t just a toss; you’re extending and rotating your body, mimicking the dink motion.
- Adding Footwork: As your partner tosses the ball slightly to your forehand or backhand, step towards the ball, turn your toes, and toss it back. This helps simulate the movement required during an actual dink.
- Incorporating Bounces: Practice taking the ball in the air and letting it bounce. This is essential because pickleballs can be unpredictable in their bounce, and you need to be prepared for both scenarios.
- Backhand Practice: Use both hands again, focusing on the rotation. This is particularly useful for players developing a two-handed backhand, as it engages the non-dominant hand.
Stage 2: Adding the Paddle
- Mirror Progression: Before adding the ball, practice the same turning and stepping motions with your paddle, mirroring the previous stage’s movements. This helps your body adjust to the paddle’s weight and feel.
- Ball and Paddle Coordination: Now, add the ball. Whether it’s off the bounce or in the air, the motion remains the same. Off the bounce, it’s a longer pushing motion. In the air, it’s a slower, more controlled movement.
- Hips and Shoulders Engagement: Focus on turning your hips and shoulders during the dink. Avoid an open body stance; instead, emphasize weight transfer and stepping towards the ball.
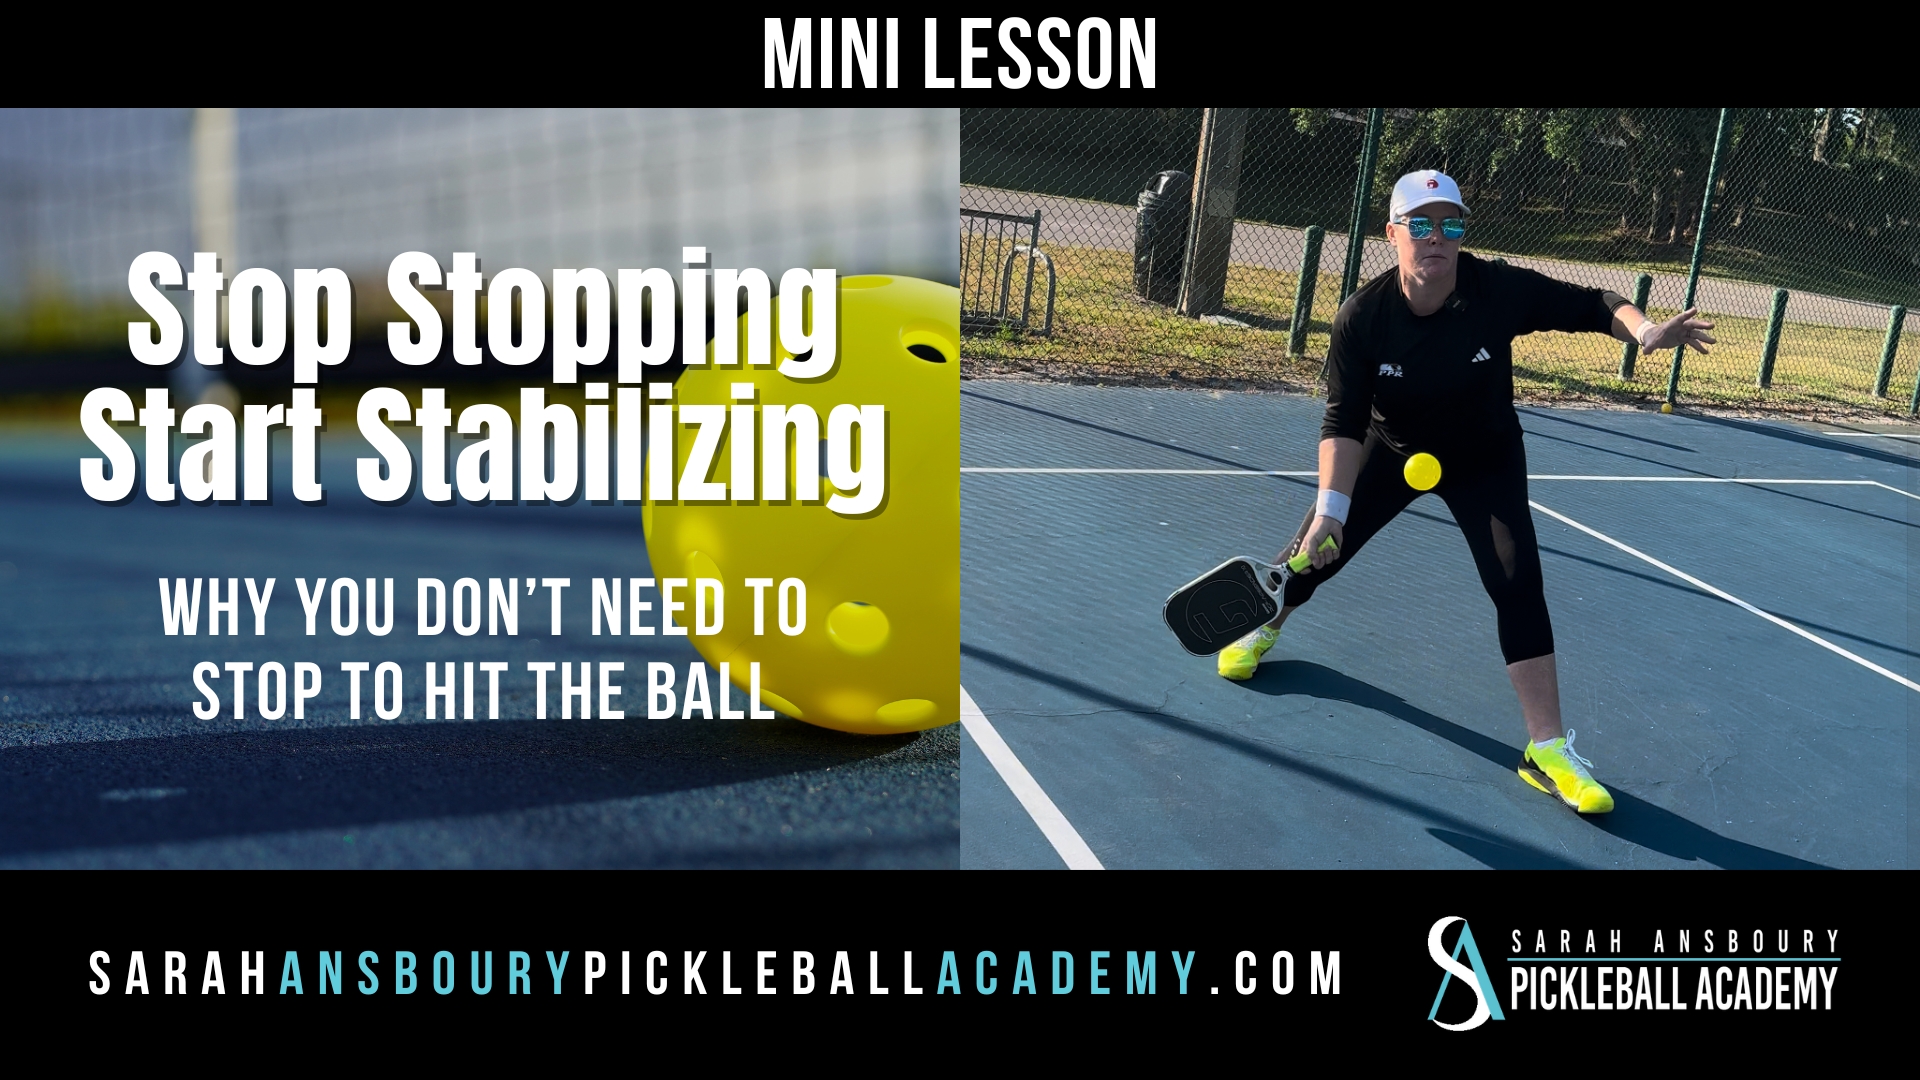
- Minimizing Unnecessary Movement: Many players tend to jump around instead of turning and stepping. Ensure your toes rotate and your body moves fluidly with the ball.
Stage 3: Dink to Dink
- Controlled Environment: Keep your practice space limited to side-to-side movements. This reduces the stress of chasing the ball and helps you focus on the dink’s mechanics.
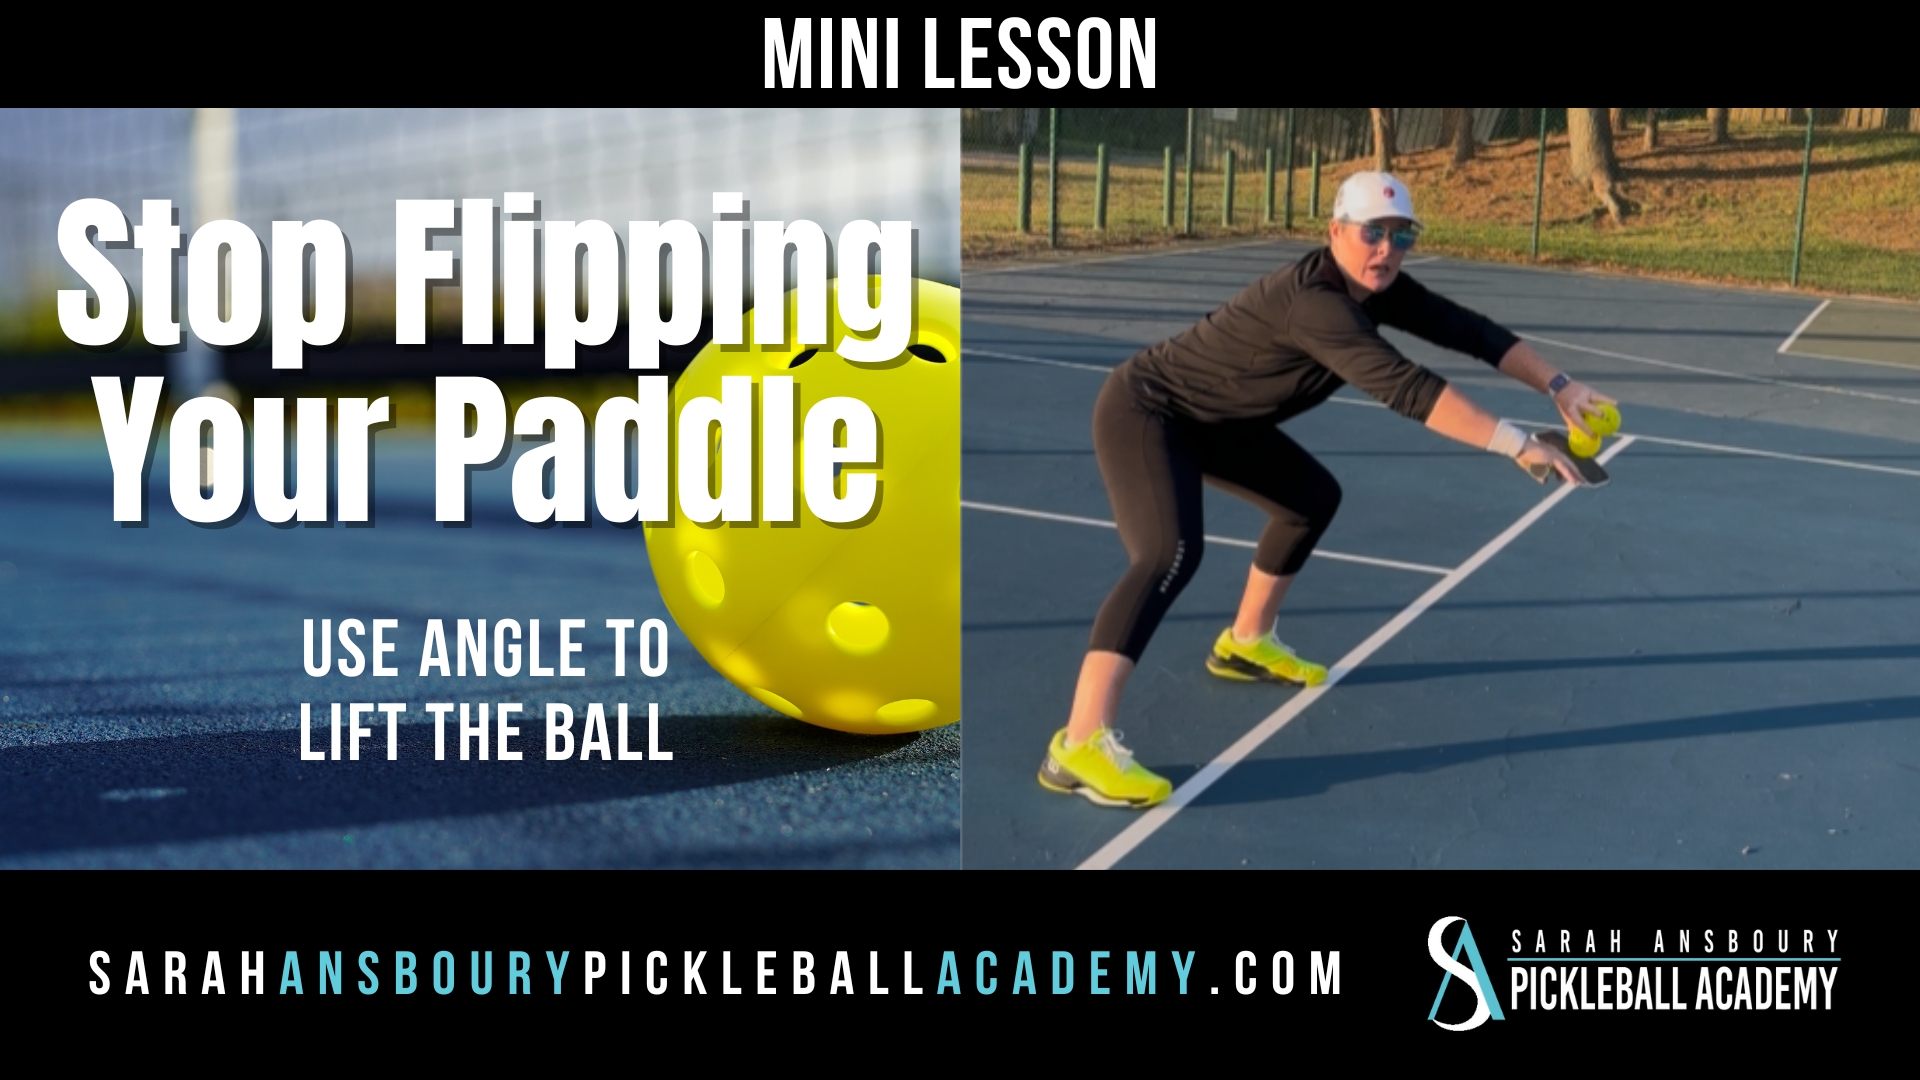
- Paddle Face Control: Your hand acts as your paddle. When teaching the dink, ensure your paddle face opens up. Players with a racquet sports background might curve their wrists, making it hard to make contact in front of their body. Proper grip and wrist position are crucial.
By following these progression stages, you’ll develop a solid foundation in dinking. Remember, consistency and patience are key. Keep practicing these movements, and you’ll see significant improvements in your game. Happy dinking!